Worlds
Throw a Coin Worlds explained: the Worlds portal beside the Mutation Machine, what each area changes, and the limited World 3 event window.
Introduction
Throw a Coin currently has 3 worlds: World 1 (the starter map), World 2 (a darker, late-game map), and World 3 (the cosmic / endgame map). Each World unlocks a new coin tier, a new rarity band, and a new set of World-locked items. World 3 launched 2026-07-19 and is the current endgame. Throw a Coin currently has three worlds: World 1 (the free starter zone), World 2 (unlocked after a developer-set Robux or grind cost), and World 3 (the late-game zone, which according to the official Roblox experience description is unlocked via a specific code or quest that the developer has not fully published). Each world has its own item pool, its own luck floor, and its own set of rare drops. Worlds 2 and 3 are where the late rarities (Primordial, Soul, Paradox, Apex, Omega) start to drop, and the best money-per-hour comes from the Endgame band in these zones. The cards on this page summarise each world's unlock cost, item pool, and progression milestones.
World Progression List
Worlds
World 1
Starter map. All Common → Mythic items drop here. This world is the free starter zone, so it is available to all players and is the entry point to the economy. The item pool is the Early super-band, and the luck floor is the Starter band. Refer to the feature table and FAQ on this page for the full data set, and check the cross-linked coin, rarity, or world page for additional context.
World 2
Late-game map. Adds Cosmic → Godly rarities. This world unlocks after a developer-set cost, so it requires a steady coin stream and at least one Mid-tier coin. The item pool is the Mid and Late super-bands, and the luck floor is the Mid band. Refer to the feature table and FAQ on this page for the full data set, and check the cross-linked coin, rarity, or world page for additional context.
World 3
Endgame map. Adds Beyond → Galactic and the Milky Way drop. This world is the late-game zone, unlocked via a code or quest the developer has referenced but not fully published. The item pool is the Late and Endgame super-bands, and the luck floor is the Endgame band. Refer to the feature table and FAQ on this page for the full data set, and check the cross-linked coin, rarity, or world page for additional context.
Core Mechanics
World 1 is the default map. World 2 unlocks after meeting a coin and item threshold that has not been published. World 3 unlocked with the WORLD3 patch window in July 2026. Once unlocked, a World stays unlocked for the account. World-locked rarities (Primordial, Genesis, Beyond, Galactic) only drop in their matching World. Worlds are large progression zones with their own item pools, luck floors, and rare drop tables. World 1 is the starter zone, free for all players. World 2 unlocks after a developer-set cost, and World 3 is the late-game zone unlocked via a code or quest the developer has referenced but not fully published. Each world's unlock cost and exact progression requirements are listed as unknown where the developer has not stated them.
Advantages
Each new World re-opens the entire rarity ladder. World 2 added new coin tiers and a new rarity band; World 3 added the Endgame band and the chase Galactic drop. Progressing through Worlds is the main long-term progression loop in Throw a Coin. Multiple worlds give the game long-term progression goals beyond the World 1 starter zone. World 2 and World 3 unlock new item pools, new luck floors, and new rare drops that the World 1 pool does not have. Each world also has its own visual theme, which keeps the late-game content visually fresh. Worlds are gated by both grind and developer-set costs, so reaching the late worlds is a clear achievement.
Challenges
World 2 and World 3 unlock costs have not been published by the developer. We do not list specific coin thresholds to avoid misleading players. The Worlds category is one of the three categories we recheck after any major event — expect the unlock requirements to change between patches. World 2 and World 3 unlock costs are not fully published, so reaching the late worlds is a grind-wall. The item pools in the late worlds are more valuable, but they are also more luck-gated, so you may reach World 3 and still not see the top-band drops. Each world has its own grind loop, and there is no cross-world fast travel, so backtracking to World 1 for sell income is a real time cost.
Frequently Asked Questions
How many worlds does Throw a Coin have?+
How do I unlock World 2?+
What is special about World 3?+
Will there be a World 4?+
Quick Tips
World 1 is the default — no unlock cost. Reach World 2 as soon as you can afford the unlock, because the Late rarity band is where the best money-per-hour lives. World 3 is the late-game ceiling and requires the full coin ladder. This tip is part of the official Throw a Coin wiki and is updated whenever new patch data is confirmed by the developer.
World 2 unlock cost is not published — check the in-game prompt. Each world has its own item pool, so plan your pulls around the world you are currently in. Cross-world fast travel does not exist, so backtracking is a real time cost. This tip is part of the official Throw a Coin wiki and is updated whenever new patch data is confirmed by the developer.
World 3 is the current endgame — Galactic drops are here only. Use the Mutation Machine to fund the World 2 and World 3 unlocks, because raw throw income is too slow at the late-game scale. The Mutation Machine is the bridge between coin tiers and world tiers. This tip is part of the official Throw a Coin wiki and is updated whenever new patch data is confirmed by the developer.
World-locked items do not drop in earlier worlds. Reach World 2 as soon as you can afford the unlock, because the Late rarity band is where the best money-per-hour lives. World 3 is the late-game ceiling and requires the full coin ladder. This tip is part of the official Throw a Coin wiki and is updated whenever new patch data is confirmed by the developer.
Each world stays unlocked for the account once triggered. Each world has its own item pool, so plan your pulls around the world you are currently in. Cross-world fast travel does not exist, so backtracking is a real time cost. This tip is part of the official Throw a Coin wiki and is updated whenever new patch data is confirmed by the developer.
Featured
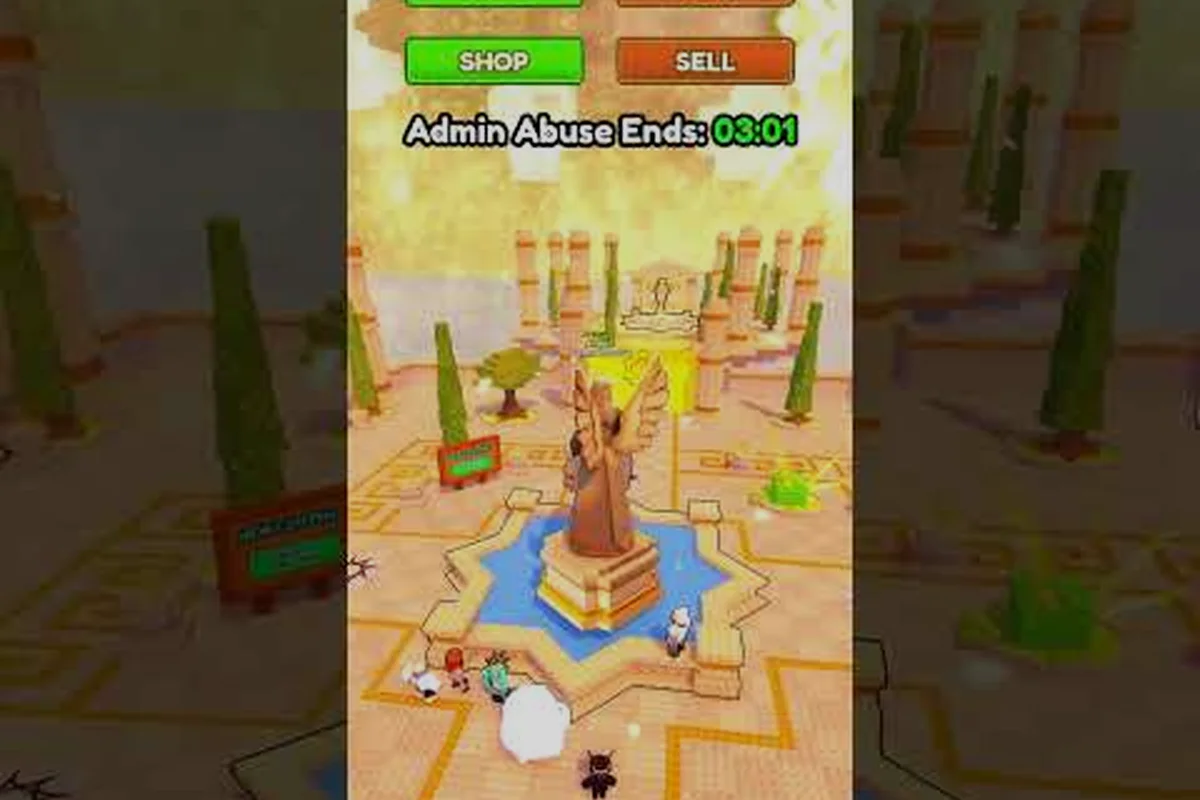
Throw a Coin World 3: Launch, Loot, and Unlock Guide
Everything about Throw a Coin World 3, including the July 26, 2026 launch inside the ADMIN ABUSE event window, what loot the new world adds, and how it fits the three-world structure.
Throw a Coin World 2: How to Unlock and What Is There
A practical guide to Throw a Coin World 2, including the unlock path, the mid-game loot set the world adds, and how it sits between World 1 and World 3 on the three-world ladder.
Throw a Coin How to Unlock World 2: Step by Step Plan
A step-by-step Throw a Coin World 2 unlock walkthrough, with the progression structure, the three phases, and the discipline that turns the unlock into a long-game target.
All Articles
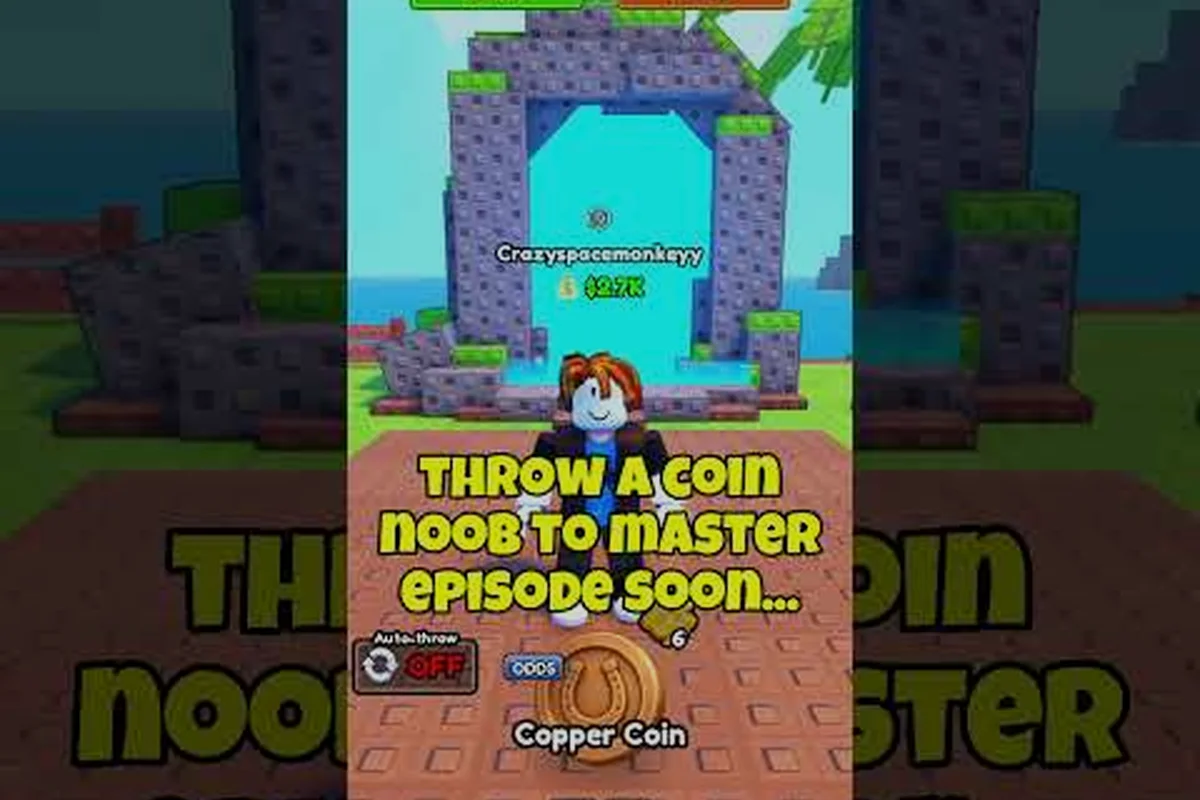
Throw a Coin Worlds Portal: Location and Travel 2026
Where to find the Throw a Coin Worlds portal, how the world selector works, and how to use the portal to travel to World 1, World 2, and World 3.
Throw a Coin All Worlds: World 1, 2, and 3 Compared
Every Throw a Coin world compared side by side, including the World 1 starter set, the World 2 mid-game set, and the World 3 late-game set launched on July 26, 2026.